Product Photography and a DIY:
In one of my previous lives, I worked at a gas grill manufacturing company in the design department and I really got to do some cool stuff. I directed photo shoots with chefs, I did massive amounts of photoshop work (you’ve never truly LIVED ‘til you have had to edit images of shiny, reflective STAINLESS STEEL grills), I got to do photo shoots in their awesome photo studio, I got to go on recon trips and redesign packaging… it had it’s moments, but overall it was a great job. Anyway, one thing I really loved about the company was that we had a photo studio set up down in the manufacturing space. We had tons of props and fake food and backdrops and lighting - it’s easy to get great photography when you have good equipment.
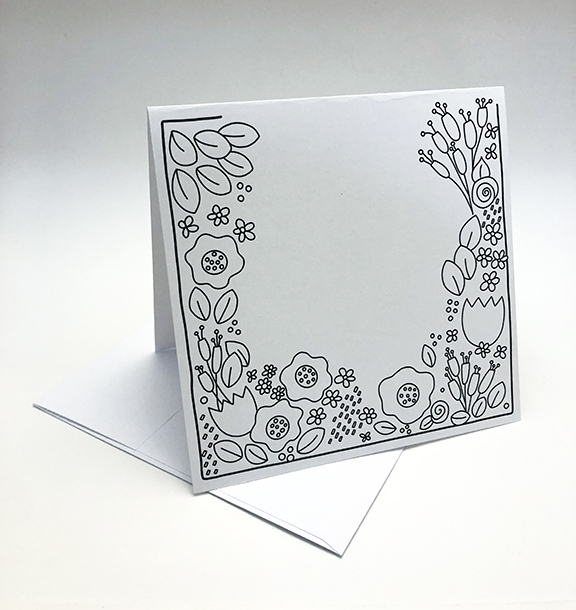
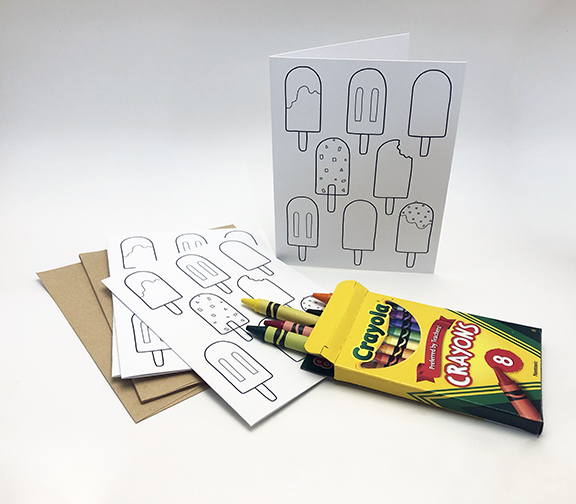
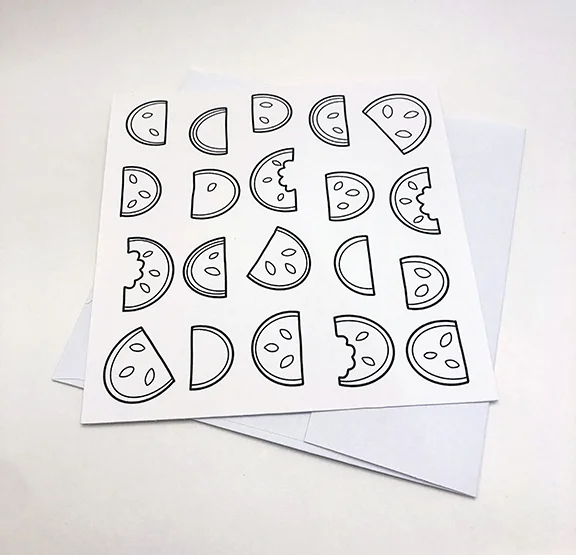
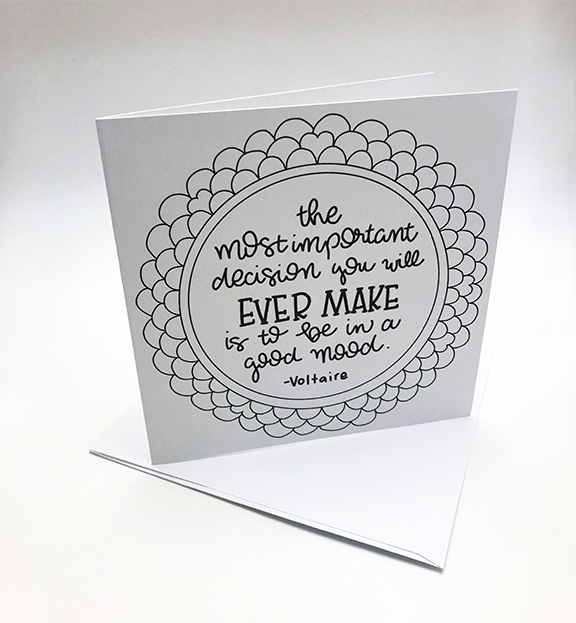
So I’ve been working on these coloring notecards for a little while and i’m finally at the point where I’m going to print them and take photos of them so I can put them in my shop, but taking great photos of white notecards with white envelopes is a bit daunting. White shows every shadow in a 3 mile radius.
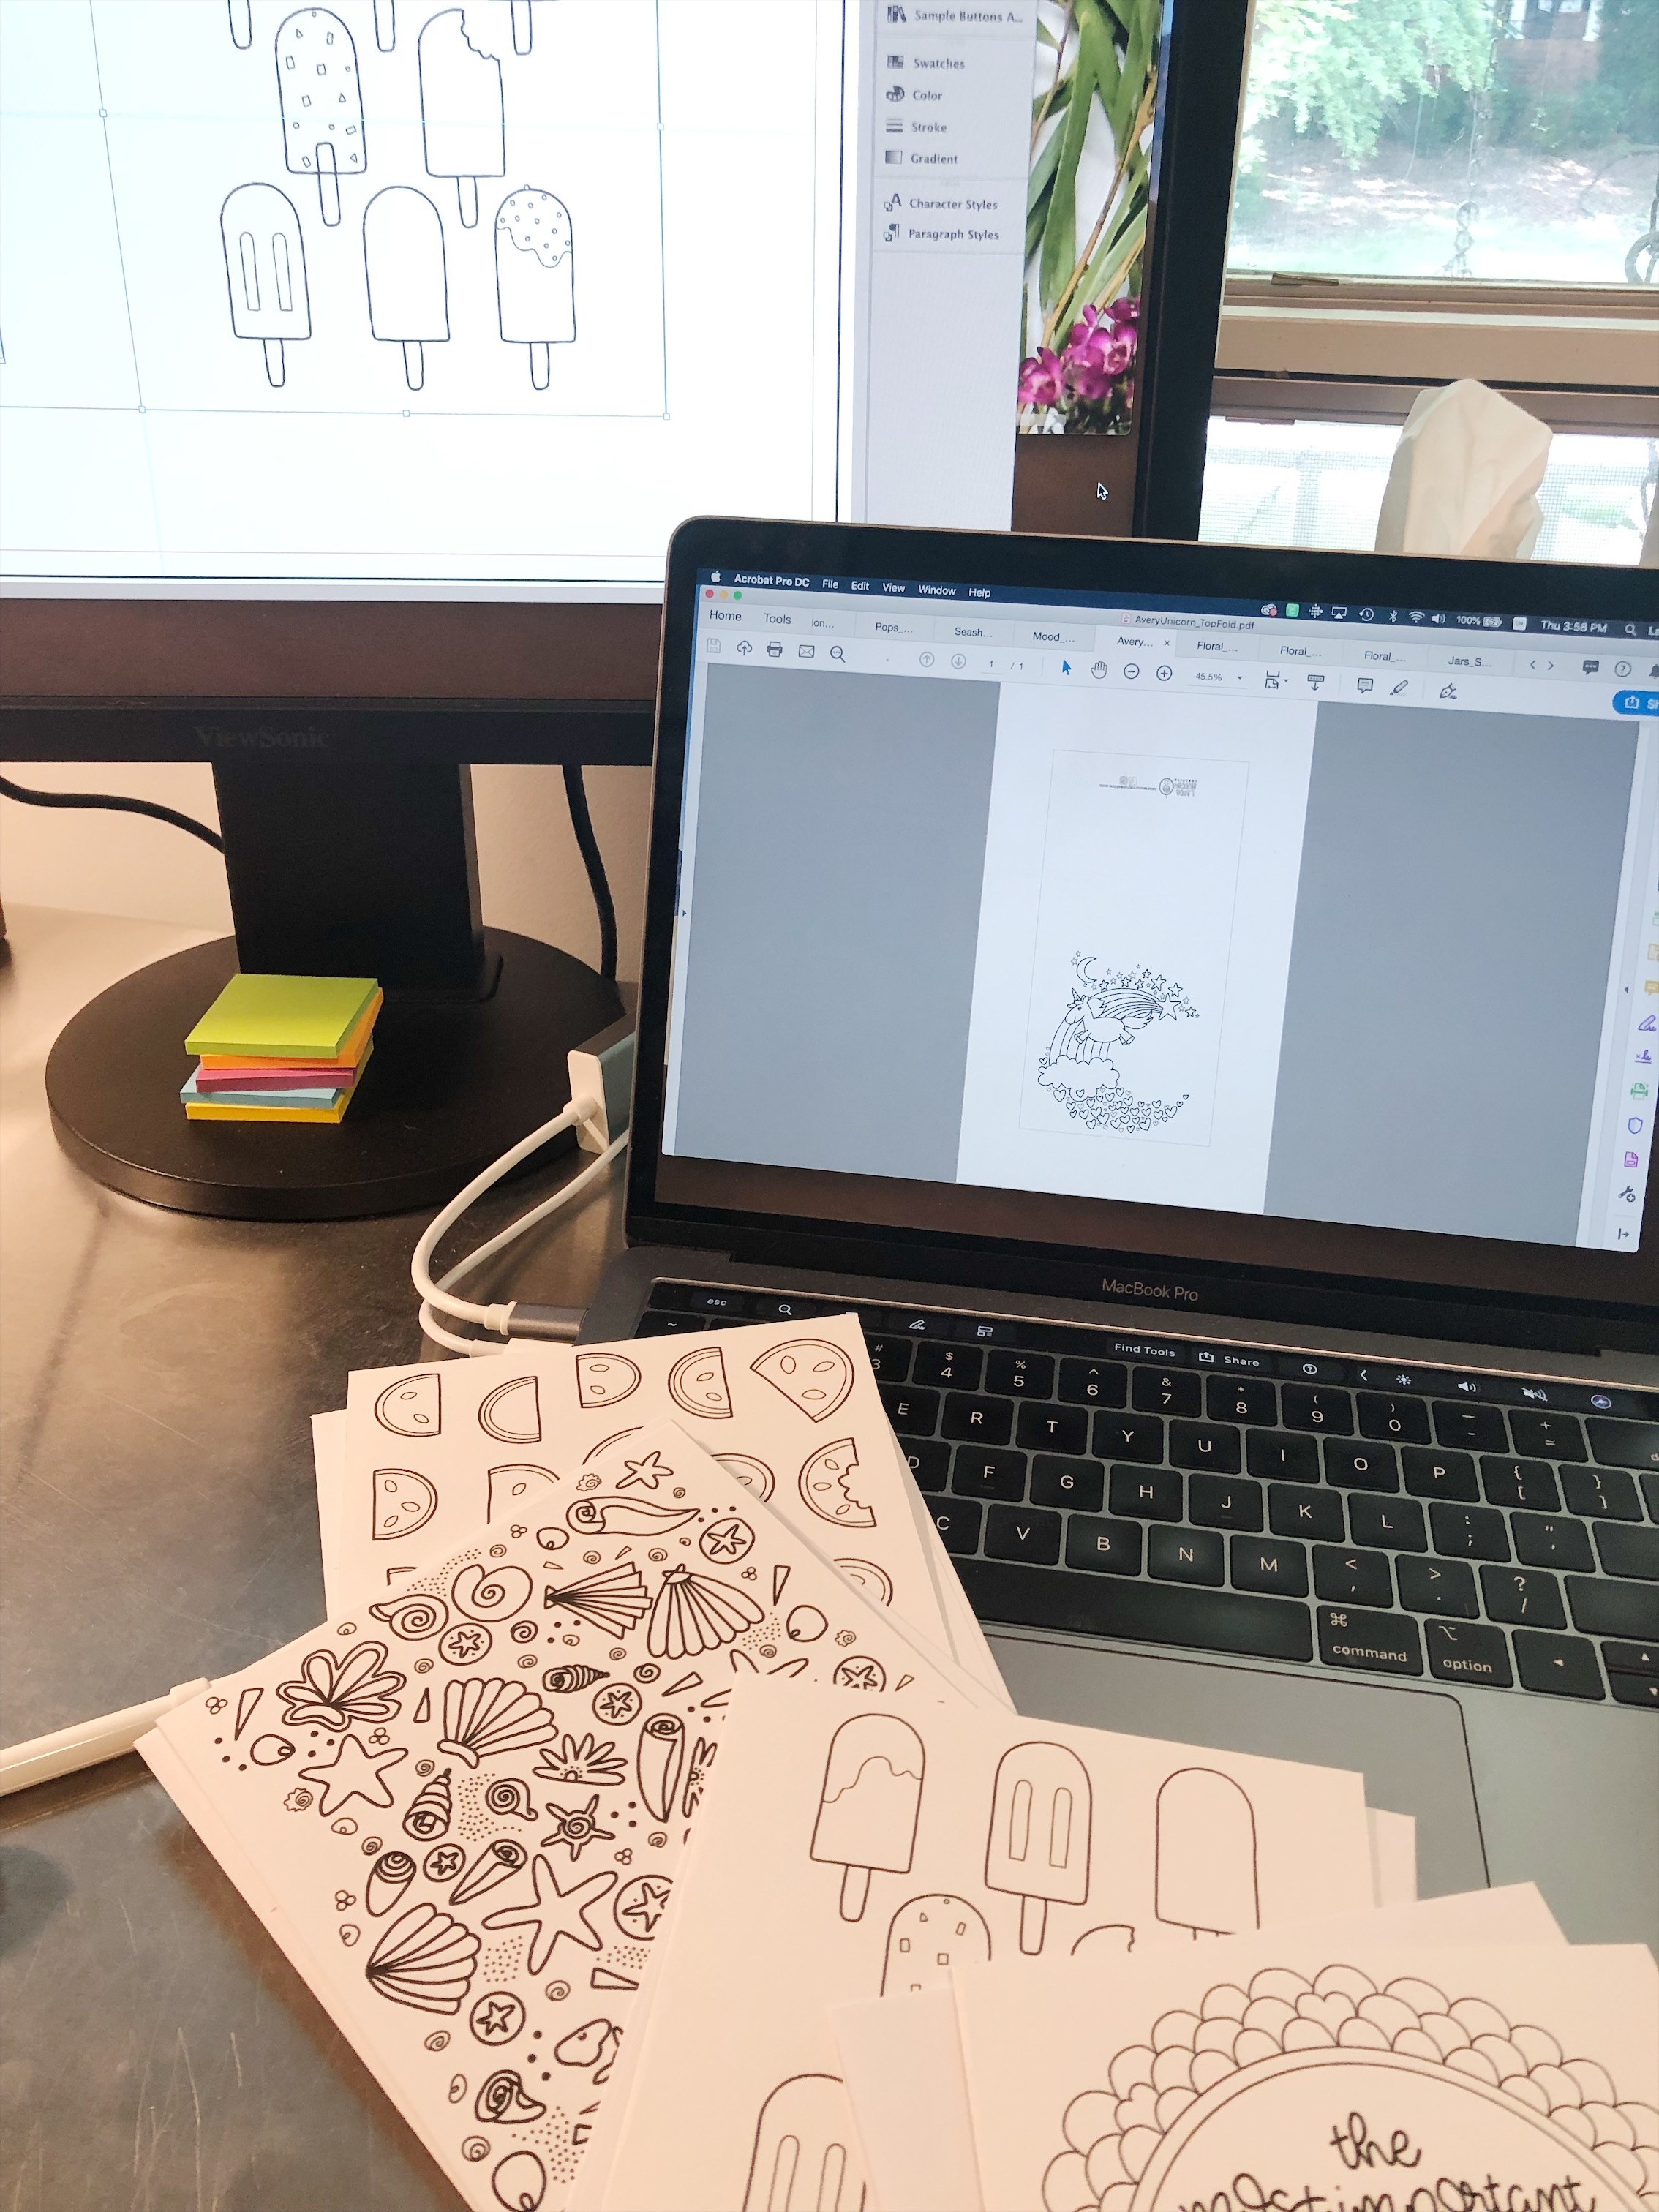
As I’m struggling to get these photos done I had a light bulb go off and I remembered the light boxes we used to use for small grill accessories and I thought, “I wonder if I could make one of those?” Insert Pinterest, the online resource where you can find ANYTHING! I started my search and a ton of ideas came up, but I wanted to use things I already had around the house, so I settled on this tutorial. It’s in a different language, but the step-by-step photos are pretty self-explanatory.
Well, here you are - my super high-tech FREE light box.
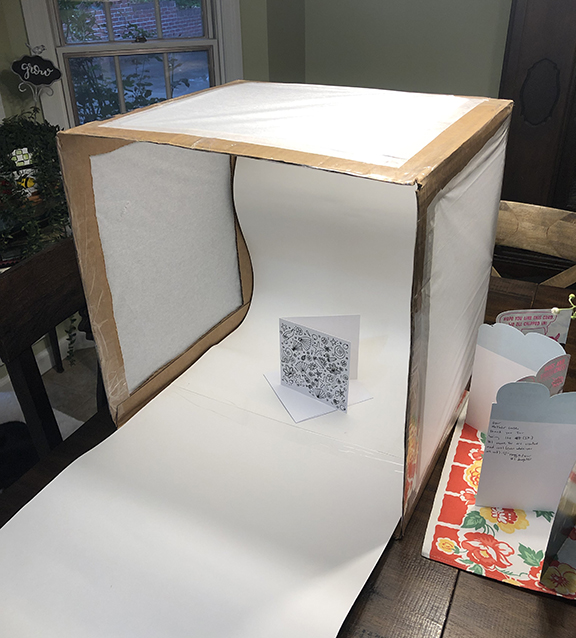
Yes, I still have to do some Photoshop work, but I think it worked pretty well - considering I only used an old cardboard box, some tissue paper, a piece of poster board, and some tape.