The Coloring Article of Your DREAMS!
So one of the questions I get THE MOST when I go talk with kids AND adults is “how do you color so good?” Other than to just tell you that I have tons of experience and millions of hours of practice (for realz… MILLIONS) - I guess I can show you how to turn your coloring into something really cool! Here are some tips & tricks for turning your afternoon of coloring into an artistic masterpiece!
My first tip is the most important… and that’s to get comfortable! Nobody ever created a masterpiece wearing uncomfy clothes sitting in a rigid environment. Ok… so maybe all the old masters did - I feel like that was just an uncomfortable time in general though. Do you ever see any Rennaisance paintings of people looking comfortable - other than the woman laying on a chaise with her boob hanging out (that’s a total different level of comfort)? No. That’s not us! I’m saying you need to get comfortable.
You are also allowed to turn the book (or page) so that you can color at a comfortable angle to your hand. I am constantly turning my book as I color. Not only does it allow me to find a good angle, but it also allows me to layer those colors to get a darker hue. If there’s ONE THING I tell kids when I speak to school groups about art and coloring and their awesome state, it’s that you don’t have to color harder to get darker colors. Pressing harder just damages your pencil. If you turn the paper and layer the same color over the top of itself, it’ll fill in some of the gaps and get darker!
You also don’t have to color 100% of the page. If something needs to be white, leave it blank. Or if you need to create a highlight or glare on something you’ve already colored (you forgot to leave it white), just use a white plastic eraser and remove some of the color. Don’t erase too hard though - you could damage your paper. What type of eraser are you talking about? This kind right here (see below). This is not a white colored “pink pearl” eraser. I love me a good pink pearl, but they’re WAY too harsh for a coloring book. Remember when you were a kid and you erased with such gusto that you tore a hole in your paper? Yeah, ME TOO! A white PLASTIC eraser won’t do that. It’ll pill up and flake away before it has the chance to rip through your masterpiece.

You’re welcome.
You’ve probably already noticed that I’m mainly talking about colored pencils here. Well, that’s because colored pencils can do no wrong in my book. They’re my coloring instrument of choice! I know I’ve told you this before, but my FAVE brand of colored pencil is Prismacolor. I have the set of 72 pencils, but they come in bigger and smaller sets. They’re more expensive than crayolas or WalMart brand, but they really do last a long time - IF you take care of them. I’m happy to say that I’m still using some of the ones from my very first set of Prismacolors that I bought in 1995 (for my FIRST fine art class in college). That’s 25 years - if you take care of them and don’t press too hard, THEY WILL LAST!

One thing I love about colored pencils is that you can layer and blend colors with ease! If you want a nice light blueish green, try layering lighter layers of blues and greens until you get the right hue. Remember when mixing: you need to start with the lightest color and get darker as you layer. If you start with the darker ones first, it gets muddy really fast.
When blending colored pencils, you can also smudge those colors together.I use a smudge stick (also known as a “stump”) like this, but you can use the tip of your finger or a Qtip or a piece of paper towel folded around your finger. You can smudge to blend your color, to create shading or to add some subtle shadows.
You can also use your colored pencils to add fullness and depth by adding shading. WHOA now, Shading? We’re getting way too technical here. Just hold onto your horses little lady (said in my best cow-poke voice) - YOU TOO can shade like a PRO! All you have to do is color the edges slightly darker and BAM! SHADING! Either layer the same color thicker at the edges or use 1-2 shades darker… NEVER black. Black is going to just make it appear muddy. Shading also adds dimension to what you’re coloring. Shade the objects in the background a little darker than what’s in the front (foreground) and it gives the illusion of depth. Want to add even more depth? Add a little greyish color under the object you’re coloring for some shadows.

Using layering to get darker hues of the same colors.

Using shading to create depth.
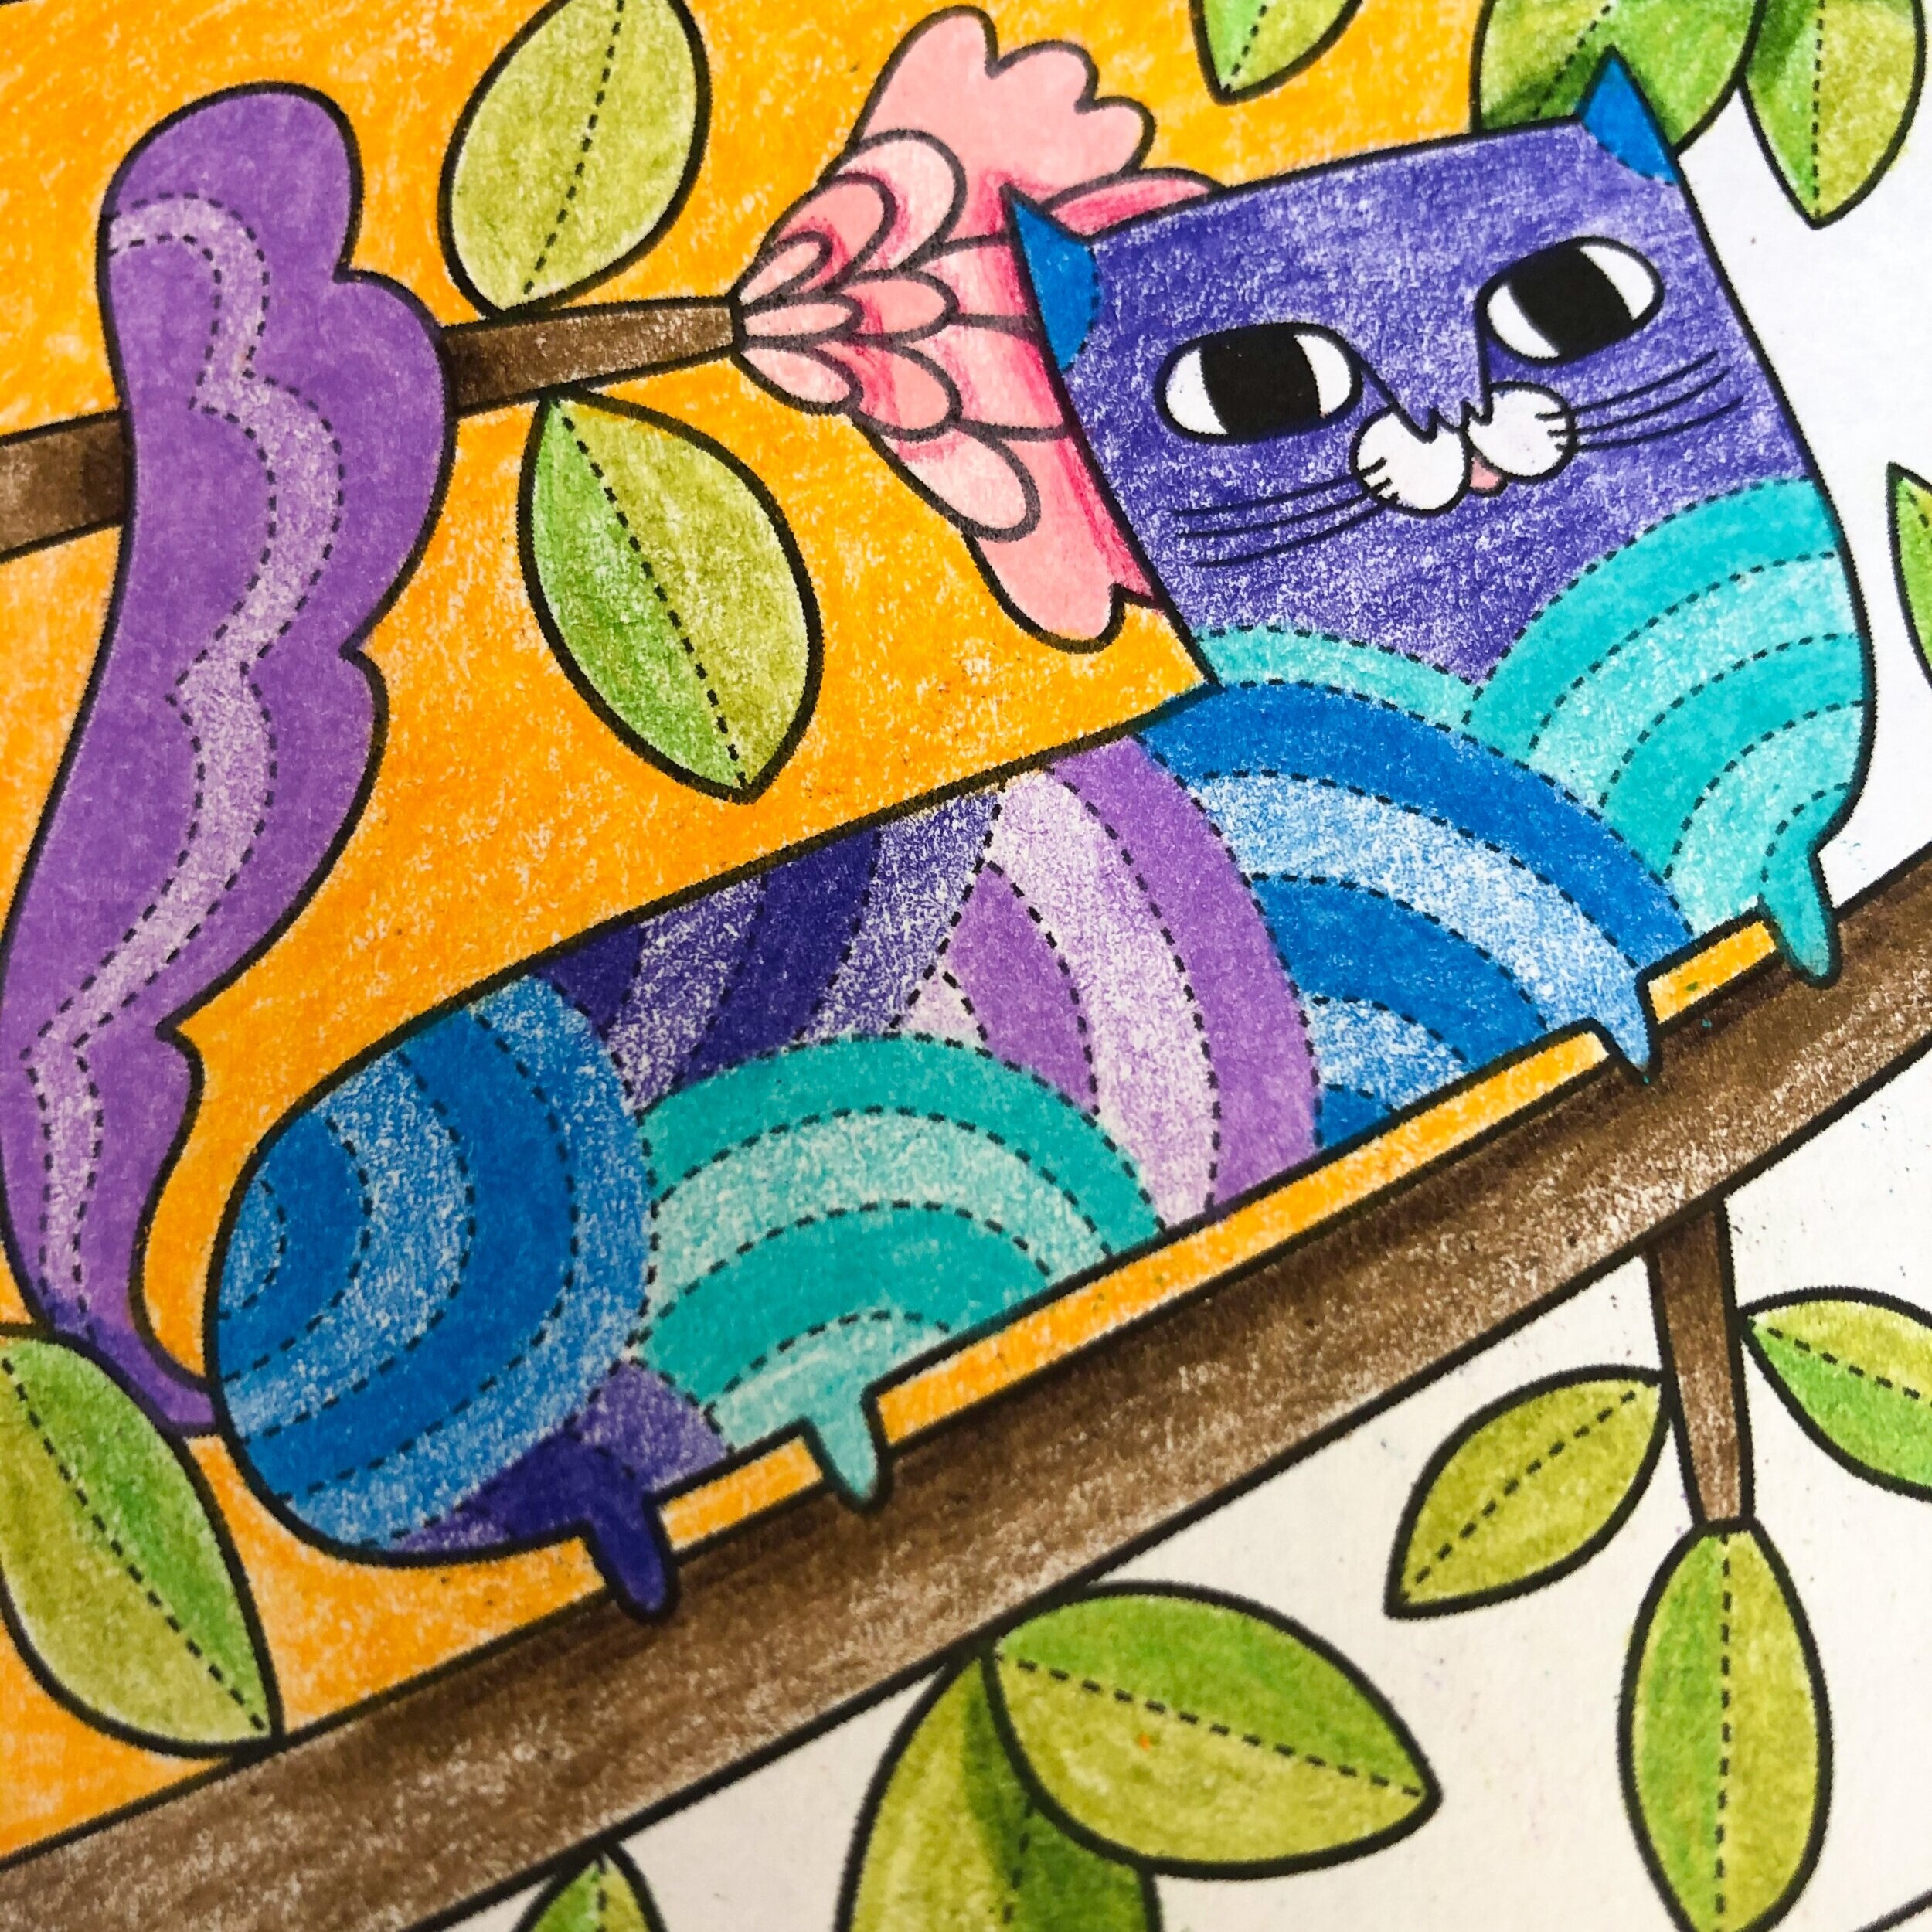
More shading = more depth.
**the book I’m using above is Cats & Kittens - For Comfort & Creativity by Flora Chang
If coloring is all about exploring your creativity, why be finished when you’re done coloring your page? You can ALWAYS add some extra embellishments. What about using a fine point black pen or even a white gel pen to add details or patterns or textures? What about dabbing a tiny bit of glue and sprinkling some fun, sparkly glitter on your page as an accent?
Why don’t you give a few of these techniques a try and let me know what you think? I’d LOVE to see your finished masterpieces… if you post them on Instagram, please tag me at @lauramurraycreative or use the hashtag #lauramurraycreative so I can enjoy your artwork too!