How to start making your own journals
I’ve never met a journal I didn’t like. If I look around my office right now, I can see 6 different kinds of notebooks and journals… and that’s not even counting the ones in drawers or cabinets. It’s a disease. I’m seeking help.
Moving on.
Did you know that you can make your own journal? I’m not talking about actually building the book with traditional Japanese bookbinding techniques (which are totally cool, by the way)... I’m talking about taking an existing book and refurbishing it as a journal!
I know this sounds crazy, so just bear with me for a bit…
First thing’s first - you have to find the perfect book (used, kids, old, unloved, vintage… YOU DO YOU). You can pick up old books at Goodwill, thrift stores, vintage shops, yard sales or estate sales, or in your own book donation box. (everyone has one of those, right?) The only guide I will give you is that it needs to be hardback and the pages need to be stitched together. Don’t know how to tell? Open the book flat and lay it paper side down - press it if it won’t lay flat. The binding will bubble up a bit and you can see if the pages are stitched together or glued. Glued will work, but you have to be more careful in step #1 below.

I have a $2 cap on buying books to “destroy”. I USUALLY try to stick to $1 or under unless it’s special or meaningful or if the color of the cover is THE PERFECT color and I absolutely have to have it. Sorry… tangent. Color is important to me (especially if it’s orange).
Before we get started, there are some supplies that you are going to need:
Your old book
Matte mod podge
A paint brush for your mod podge (I use cheapo sponge brushes)
Spray glue (no other type of glue works for this project - sorry)
HUGE clip/clamp to hold the book open. (I have those large black binder clips, but I’ve also used plain wooden clothespins before too.)
Spray gesso (What’s gesso? More on that later…)
Wax Paper
(opt) Misc. paper (notebook paper, graph paper, plain paper, etc.)
Technique:
1.
Clean your book if it came from a thrift store. Not the pages - just the cover. If you can’t ”clean” it, spray it down with Lysol and let it dry completely. Ewww germs.
2.
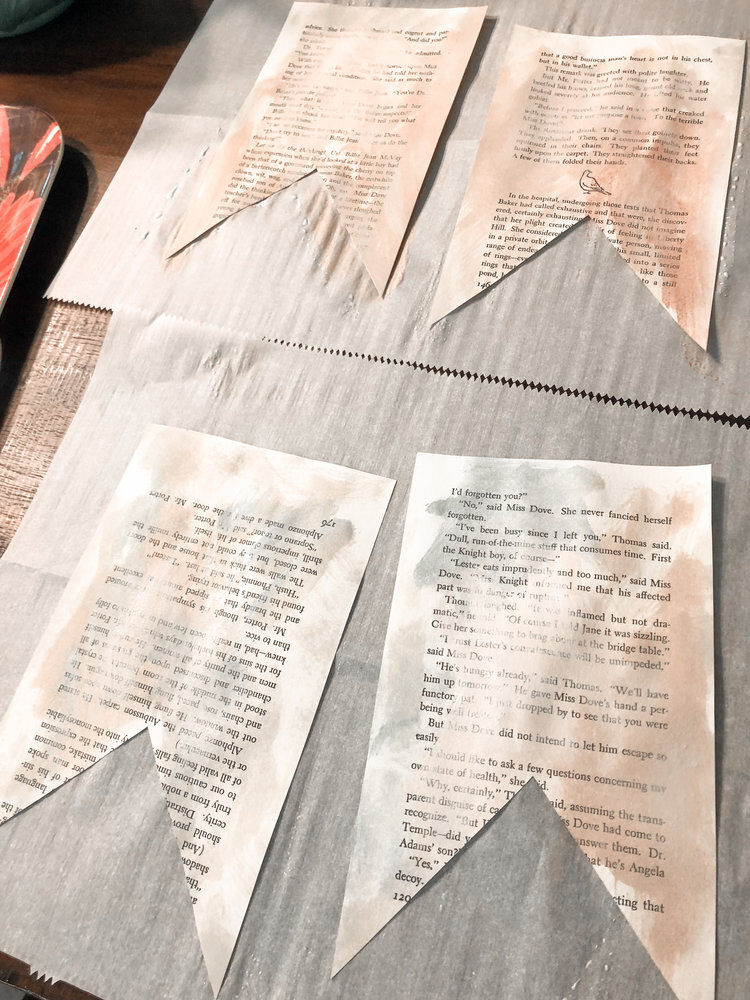
Go through your book and pull out (or cut with an Xacto) about ⅓ of the pages (I tear out like every 3rd page). I know this feels crazy, but just go with me here.

*Sorry the above pic is a bit blurry…
This step is the hardest part… I promise. Tearing up a book goes against everything I was taught - but we’re not actually “destroying” it - we’re giving it new life!
Keep those torn out pages for other crafts
3.
Decide if you want to make a writing journal or an art journal.
Writing
No gesso needed. You just need spray glue and paper to write on.
Cut your paper to the size you want it to be (either the same size as your journal book or smaller - whatever look you’re going for).
Lay the paper (right side down) onto something you don’t mind getting spray all over
Give it a light coat of spray glue on the back
Adhere to the paper to one of the pages in your vintage book
Let it dry a few minutes, then put wax paper between the pages so they won’t get stuck together and you can shut the book (I do 3-4 spreads at a time before I let the book rest).
Close the book and weight it down. If you don’t, the pages will get wavy.
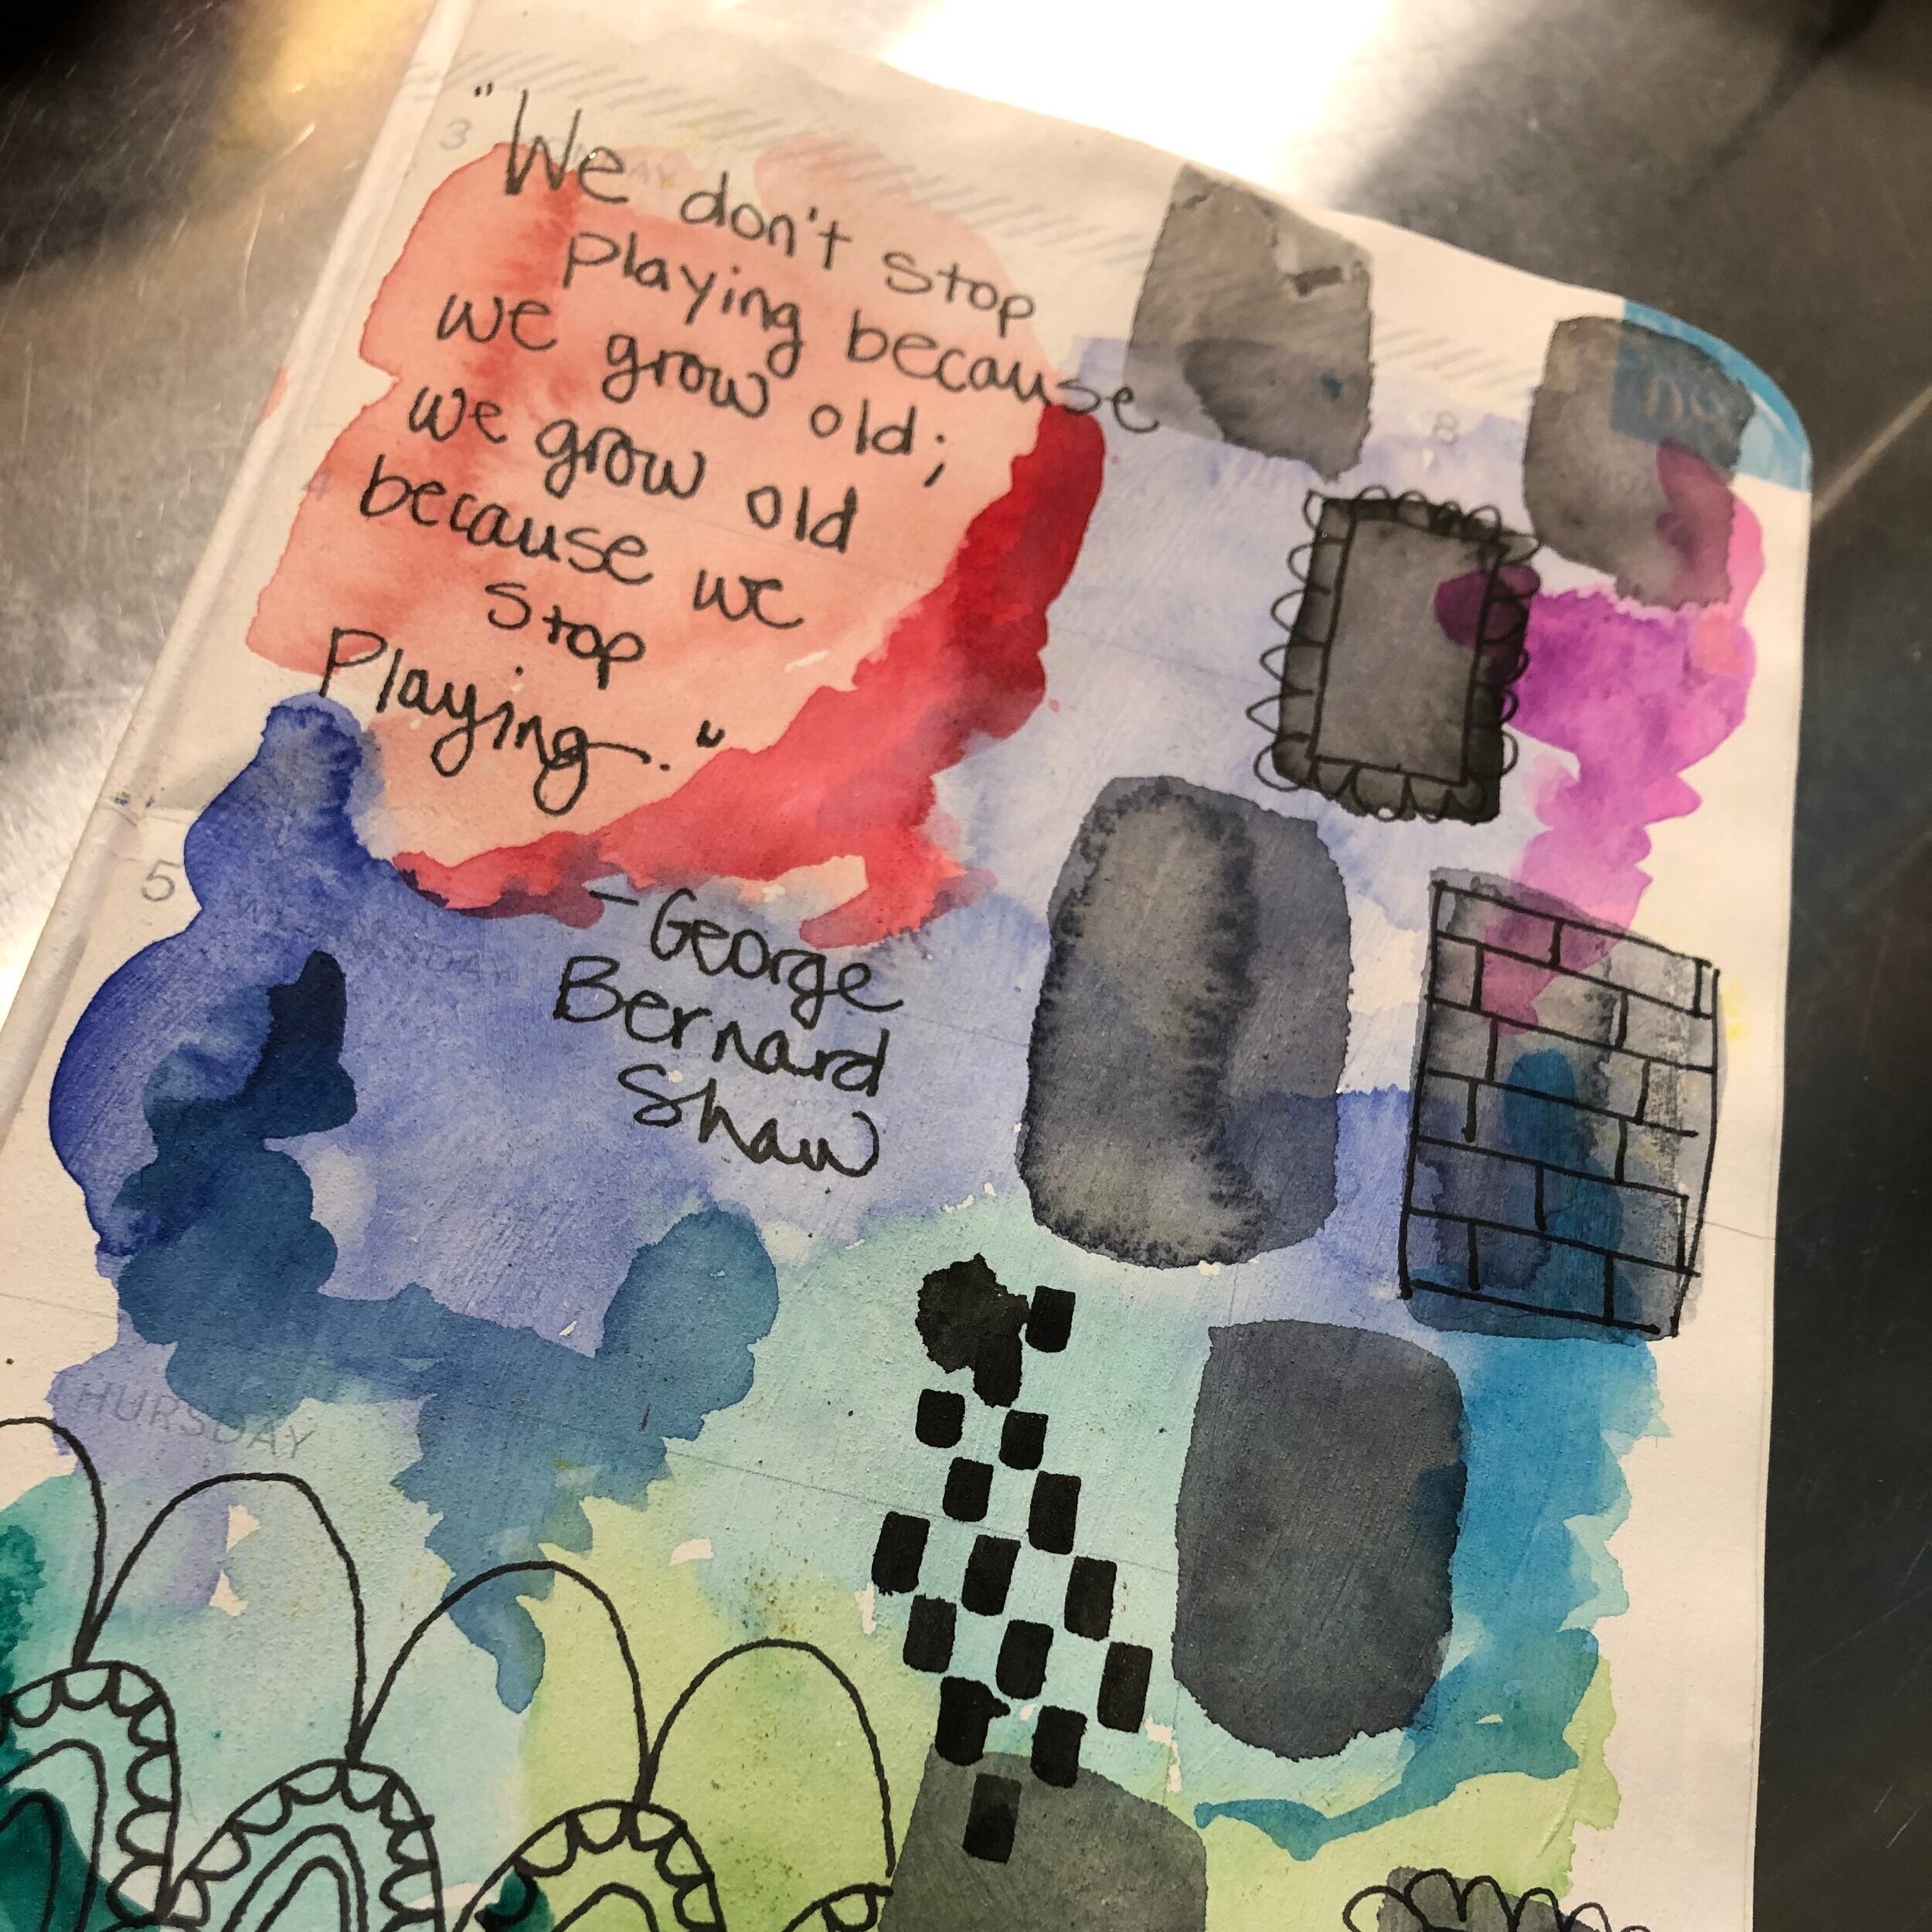
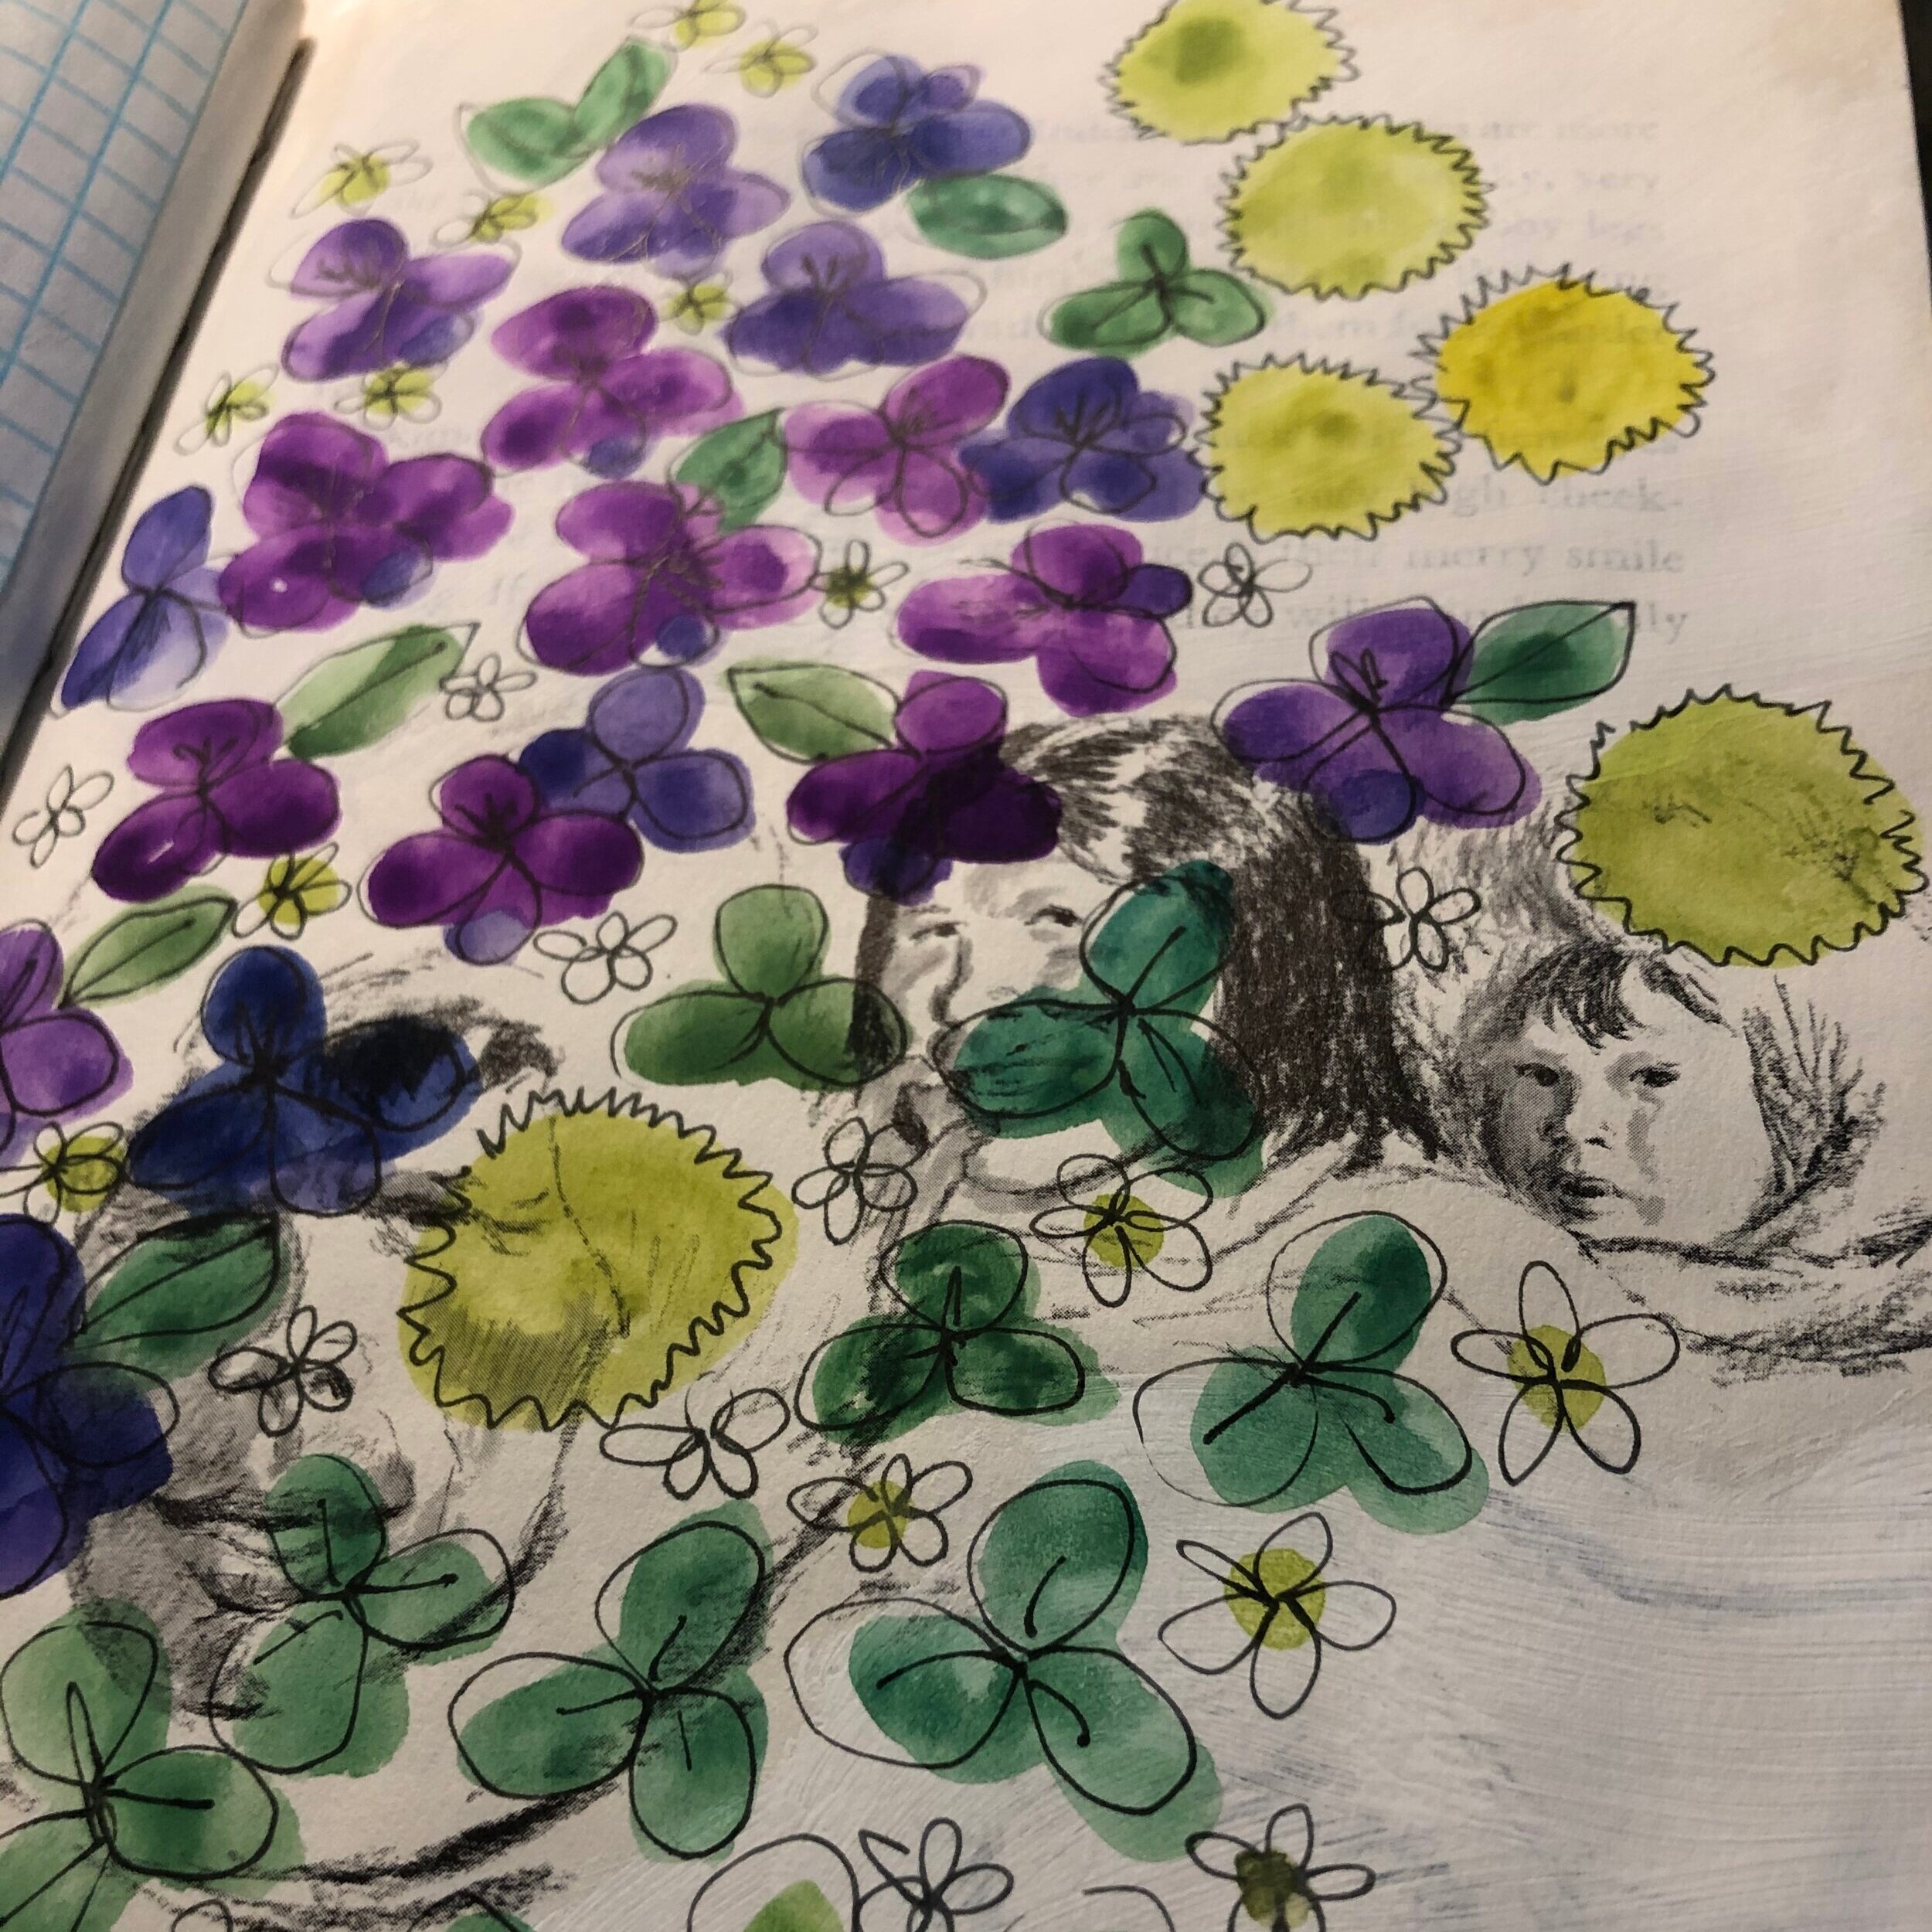
Art
THE SKY IS THE LIMIT! If you want to have a blank slate to work with, you can use spray gesso to give it a nice clean white coat… essentially priming it for paint.
Lay the book onto something you don’t mind getting spray all over and use your clamp to hold the book open.
Give it 2-3 light coats of spray gesso.
Let dry a few minutes, then put wax paper between the pages so you can shut the book (I do 3-4 spreads at a time before I let the book rest).
Close the book and weight it down. If you don’t, the pages will get wavy.
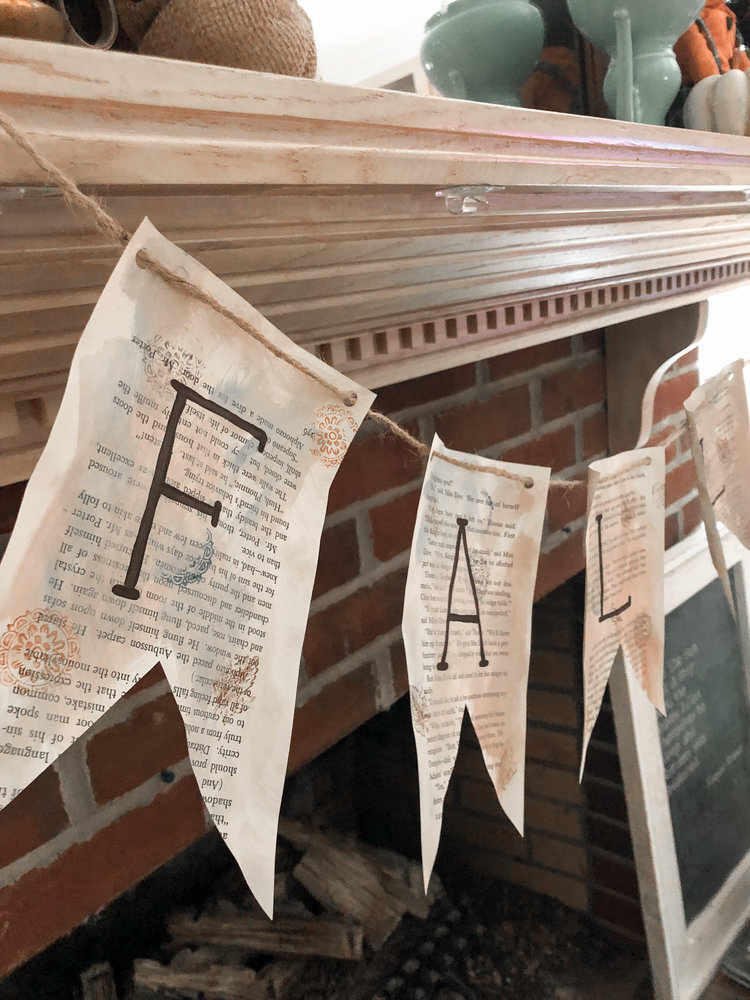
You can also adhere fun paper or writing paper or little scraps of paper to paint or draw on. This is your journal and you can HAVE FUN WITH IT!

You can create the book as you go (2-3 spreads at a time), or you can go ahead and knock the whole book out before you start using it. I’ve done it both ways - sometimes I know I want to make a book for a specific purpose and I can’t WAIT to get started painting or creating in my new/old journal. Sometimes I’m creating a journal for a future use and I know I can wait to use it until I’m done. That’s totally up to you.
When you’re finished with your book you can choose to leave the cover as-is or decorate it as well. I’ve done both. Gesso works well on any texture cover - it prepares your surface for painting... but you can also just use acrylic and paint directly on the surface of the book cover.
Here are some of the art journals I’ve made...

Q: What is gesso?
Gesso covers the paper and thickens it so that it will stand up to the layers of paint you’re going to add after your journal is finished. It’s traditionally used to prepare canvas for paint. If you paint on a raw (unprepared) canvas, the paint kind of soaks in. Think of gesso as a primer - you wouldn’t paint directly on sheetrock, would you? Nope!
Q: Why do I prefer spray gesso to brush-on gesso?
I just like the texture better. I’ve not found a brush-on gesso that dries to a super smooth texture (I don’t like painting on rough sandpaper). Spray gesso dries faster, but you need more than one coat. If you LIKE painting on a rougher surface, by all means go ahead and buy the gesso in a jar. I just prefer the spray kind.
Q: How do you use spray glue?
Spray glue is SO BAD for you. We actually used to be required to use a machine-ventilated spray hood to use spray glue at an old job of mine. NOT ONLY does it need to be ventilated for your lungs, but it gets ALL.OVER.EVERYTIHING! Do you like the feeling of every hair on your arms sticking together? Yeah, me neither. Word to the wise - if you don’t have a professional machine-ventilation hood, just make sure to go outside if you have to use spray glue. I wait until it’s a nice day with very little breeze and put down an old dropcloth. Then I put a piece of posterboard on top of the dropcloth: double-layer protection. Remember: it will get everywhere. You will think you kept it contained, but you will come back inside feeling like you have a new layer of skin. Trust me.
Q: How much will this project cost me?
Yes, you can buy a cheap journal for $3 at the craft store, but I love the idea of recycling unloved books into something that I will actually use. Ultimately it’s less expensive for me because I already have all the supplies I need. $1 book + (free) supplies = $1 journal.
If you’re purchasing all the supplies from scratch, here’s an idea of what all you need:
$12 Spray glue (from $5-$12 depending on the brand)
$12 Spray gesso
$2 Wax paper
$7 Xacto knife
$1 Old book
Want more fun tutorials like this? Check out my website: